How to Test a Circuit Breaker Using a Digital Multimeter?
Testing a circuit breaker is an essential part of diagnosing electrical issues in your home. Whether you’re experiencing power interruptions, flickering lights, or appliance malfunctions, your circuit breaker may be the root cause.
In this blog post, our professionals from Mr. Electric will guide you through how to test a circuit breaker using a digital multimeter.
Gather Your Tools
Before you begin, ensure you have the right tools for the job. A digital multimeter is required for the measurement of resistance, current, and voltage. These devices are easy to find at hardware stores, and they are relatively inexpensive. Furthermore, it may be beneficial to possess protective equipment, such as goggles and mittens that are insulated. Circuit breakers carry live electricity, and safety should always be your first priority. If you are uncertain about the procedure, you may want to consult with an electrician who specializes in the replacement and repair of circuit breakers.
Safety Precautions
Testing a circuit breaker involves working with live electrical panels, so it's crucial to take safety precautions. Initially, ensure that your palms are dry and that you are wearing rubber-soled shoes to prevent electrical shocks. Never work on an electrical panel in wet conditions. If you're accessing the breaker panel for the first time, switch off all devices that draw power from the circuit. It is also advisable to identify each circuit in order to prevent any confusion during the testing process. Should you feel uncertain at any point, contact an electrical repair service for assistance.
Setting Up the Multimeter
Now that you have the necessary tools and safety precautions in place, it’s time to set up the digital multimeter. Adjust the multimeter to the AC voltage setting, which is typically indicated by the symbol "ACV." Most home circuits run on 120V or 240V, so set the voltage range accordingly on your multimeter if it's not automatic. At this point, you are ready to proceed with testing. If the device is not functioning properly or provides confusing readings, it is recommended that you cease operation and seek assistance from an electrician in Hockley.
Testing the Circuit Breaker
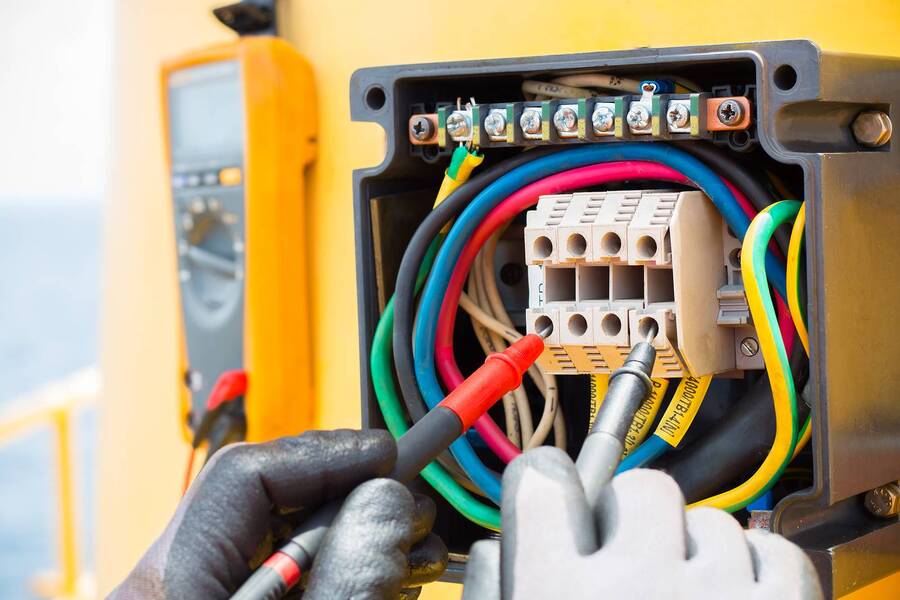
To test the circuit breaker, start by locating the main service panel. Open the panel door carefully. The circuit breaker you wish to examine is typically located within the panel and is identified by its label. Place the black probe of the multimeter on the grounded metal box inside the panel, and the red probe on the terminal screw of the breaker. A voltage measurement should be displayed by the multimeter. The reading for a 120V circuit should be approximately 120V, while for a 240V circuit, it should be at or near 240V. If the voltage is significantly lower or nonexistent, it’s a sign the breaker is faulty and may require circuit breaker replacement.
Identifying Faulty Breakers
If the digital multimeter does not detect any voltage when testing the breaker, it is likely that the breaker is inoperative and requires replacement. Alternatively, if the voltage reading is far below the expected range, this could signal the breaker is weakening and may fail soon. In either case, it is essential that you take action to guarantee the safety of your residence. Consult a professional to determine whether circuit breaker replacement is necessary or if additional troubleshooting is required.
Need a Reliable Company?
Are you in need of an electrician? Luckily, we at Mr. Electric have dedicated workers ready at your service. Contact our representatives for more questions.


